
Connect your sensor to the WIFI network
When plugged in, the Module Air sensor will create a WIFI network named
"moduleair-xxxxx" (e.g.: moduleair-A546GF). You can connect to it with a computer
or smartphone using the password "moduleaircfg".
Please note that the Module Air's WIFI network will only be active for a few minutes after startup. If the network is not detected by your devices, please turn the Module Air off and on again.
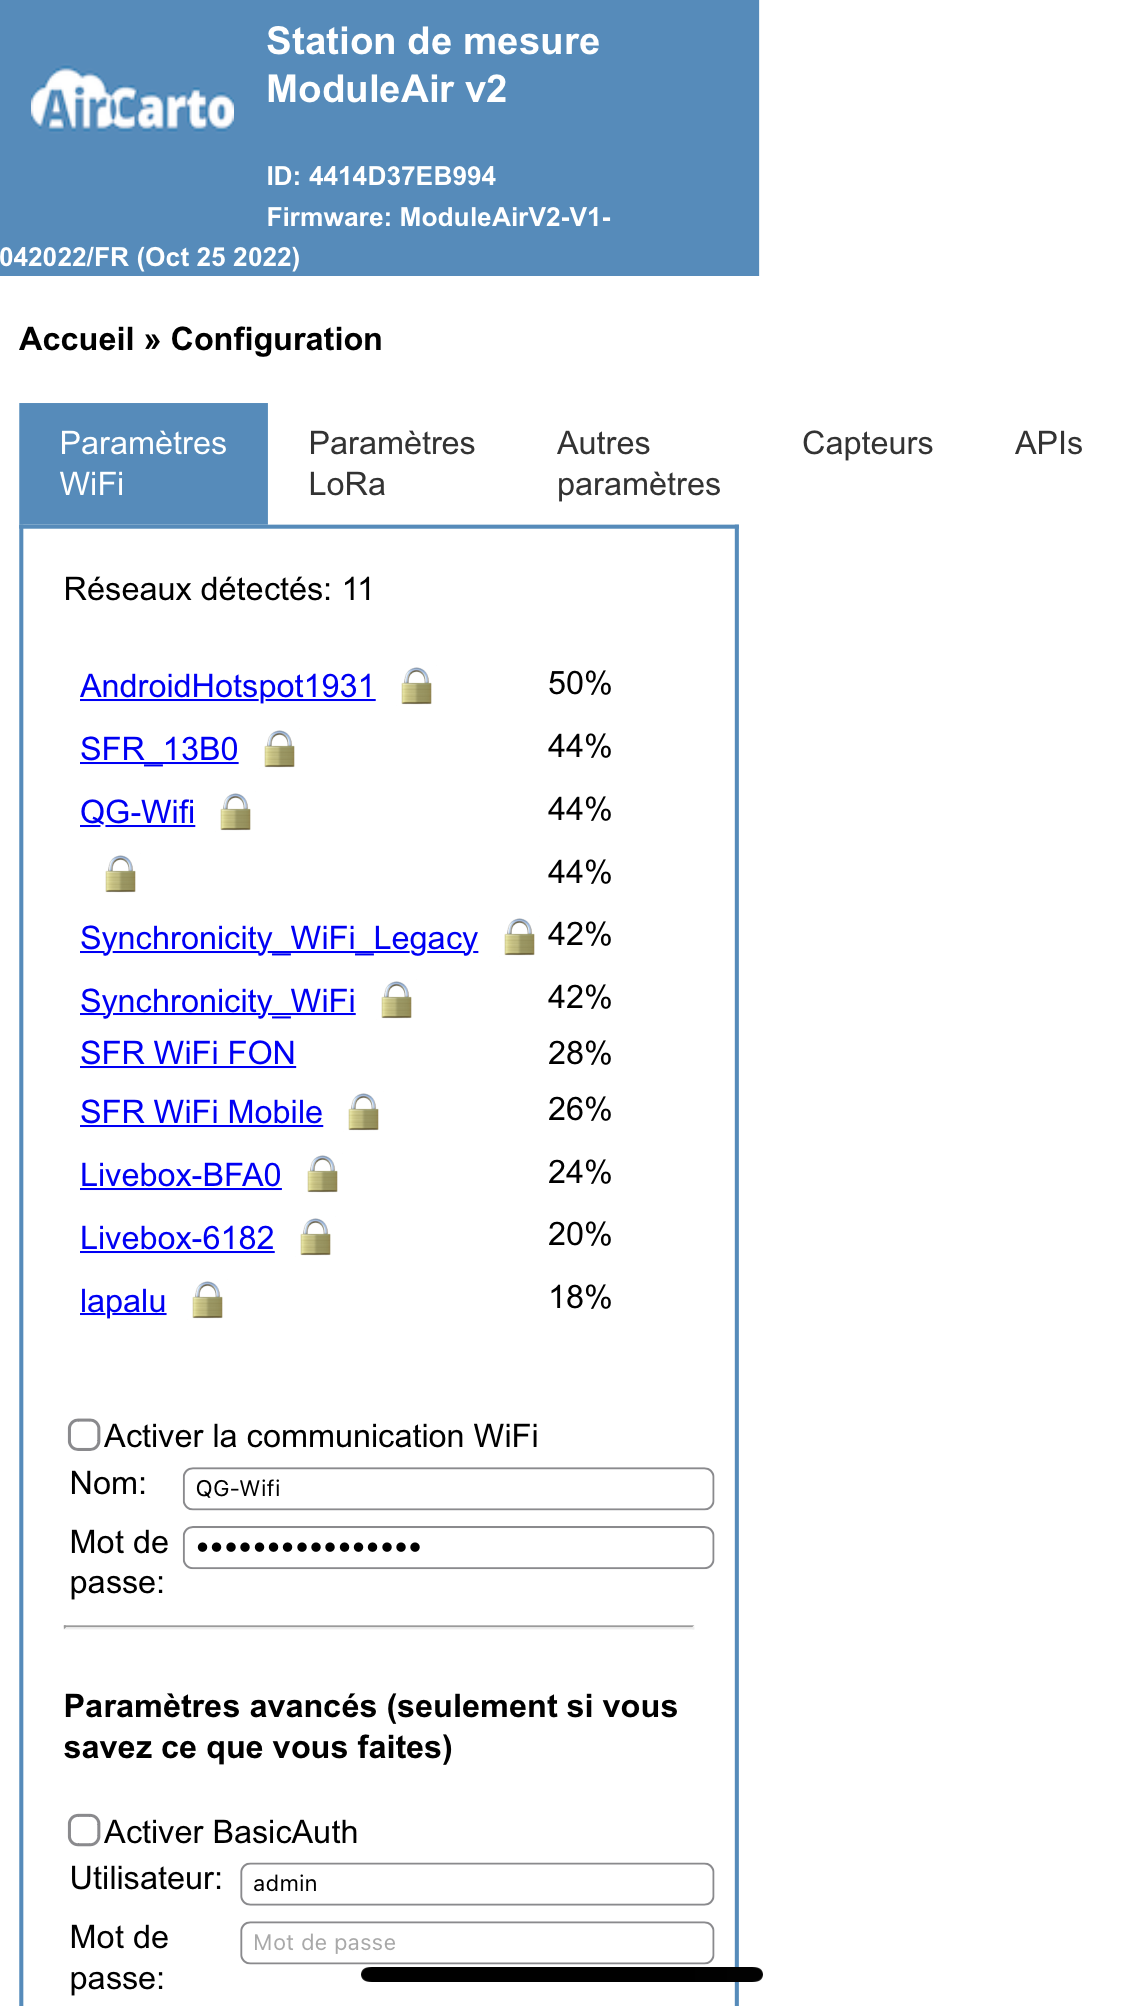
Once connected, the configuration web page should open automatically (see
image).
If this doesn't happen, open a browser and go to http://192.168.4.1/
The configuration page shows you the WIFI networks that the Module Air can connect to. Click on your home network, enter the password, check the
"Enable WIFI communication" box and click
the "Save and restart" button.
The Module Air will then restart and attempt to connect to your network.
If the connection is successful, the "moduleair-xxxx" WIFI network will disappear.
If the connection fails (wrong password or signal too weak), the "moduleair-xxxx" WIFI network will still be available. In this case, you need to retry the connection.
Technical note: it is possible to modify other parameters on the configuration page, but this requires good computer knowledge (more detailed information is available on the Module Air project GitHub.)
Once your Module Air is connected to the WIFI network, you can view the measurement data by visiting the my Module Air page.
The sensor name is written inside the case and the identification number
(id) is engraved on the plexiglass.